Showing posts with label The children's projects. Show all posts

Saturday, 6 September 2014

Let's do it for the kids: the Adinkra symbols project

This is the second post in the series about the arts and crafts workshops for children that I ran almost two years ago with the African Cultural Association, Barnet.
As usual the brief was to encourage children and young people from 7 to 18 to learn and use textile craft techniques to make something, possibly with links to African history and culture.


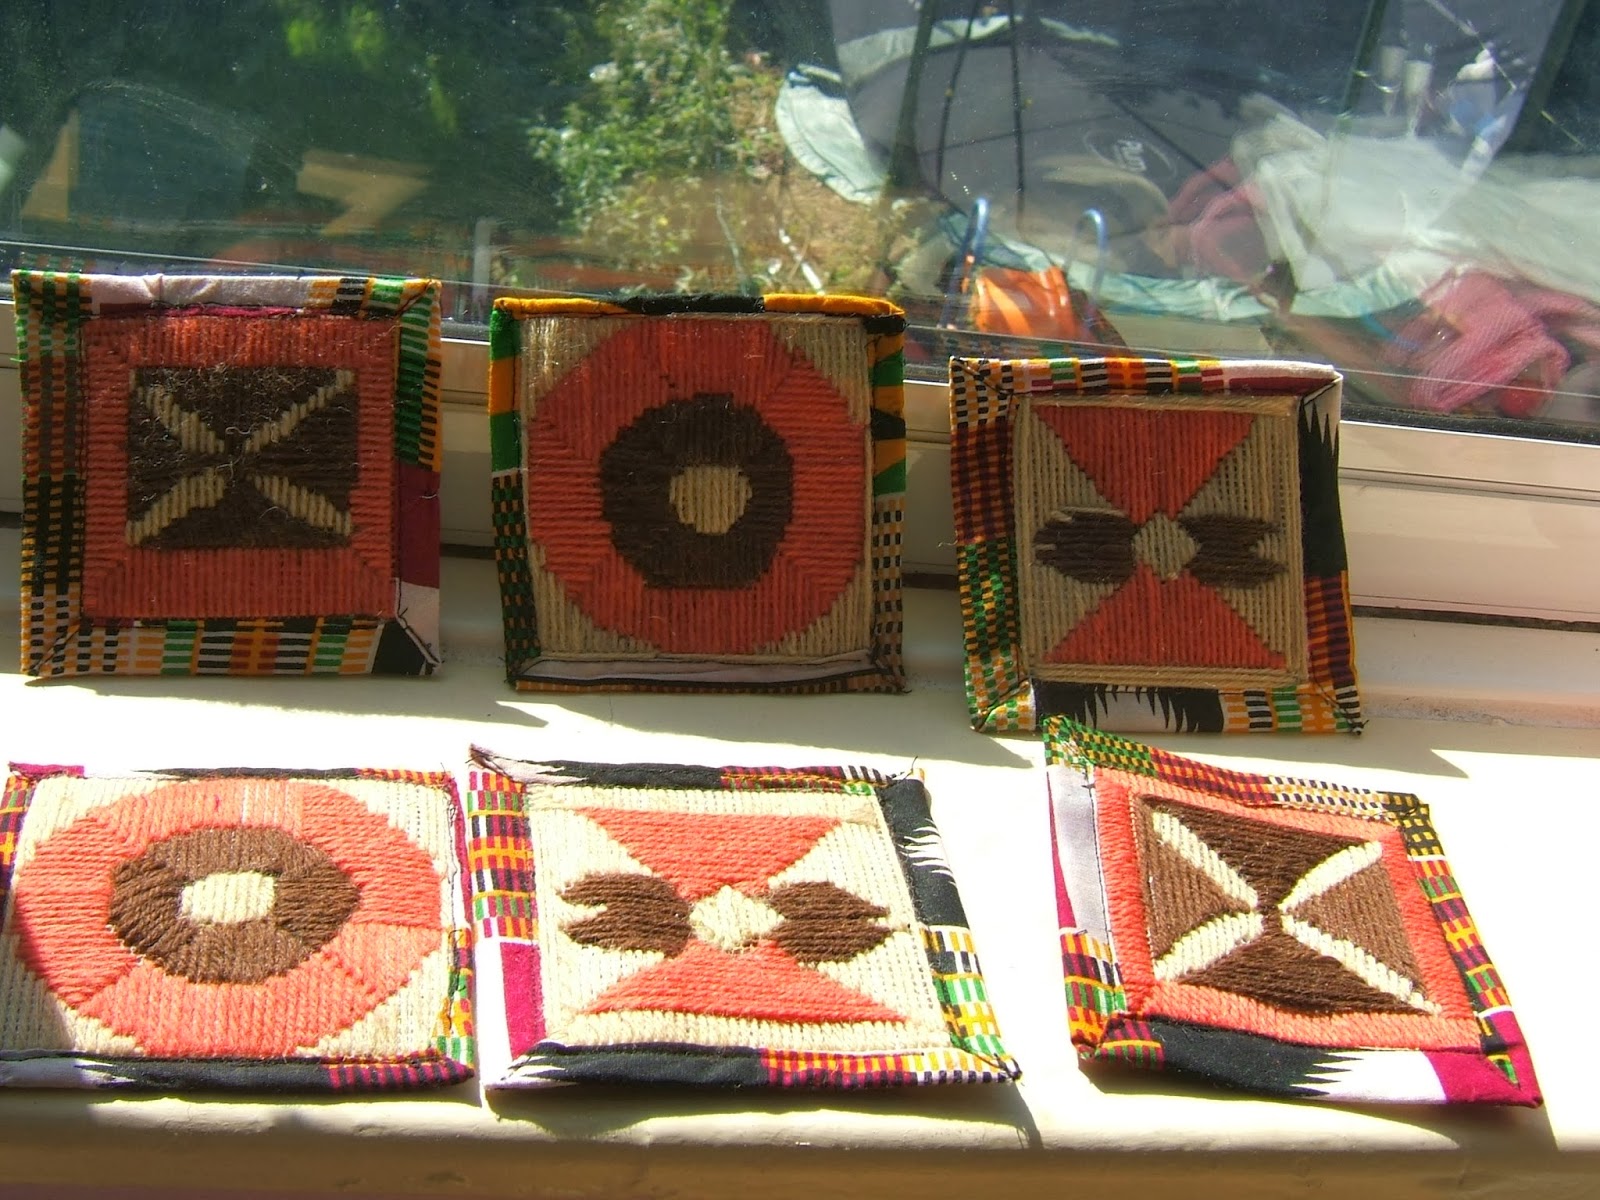
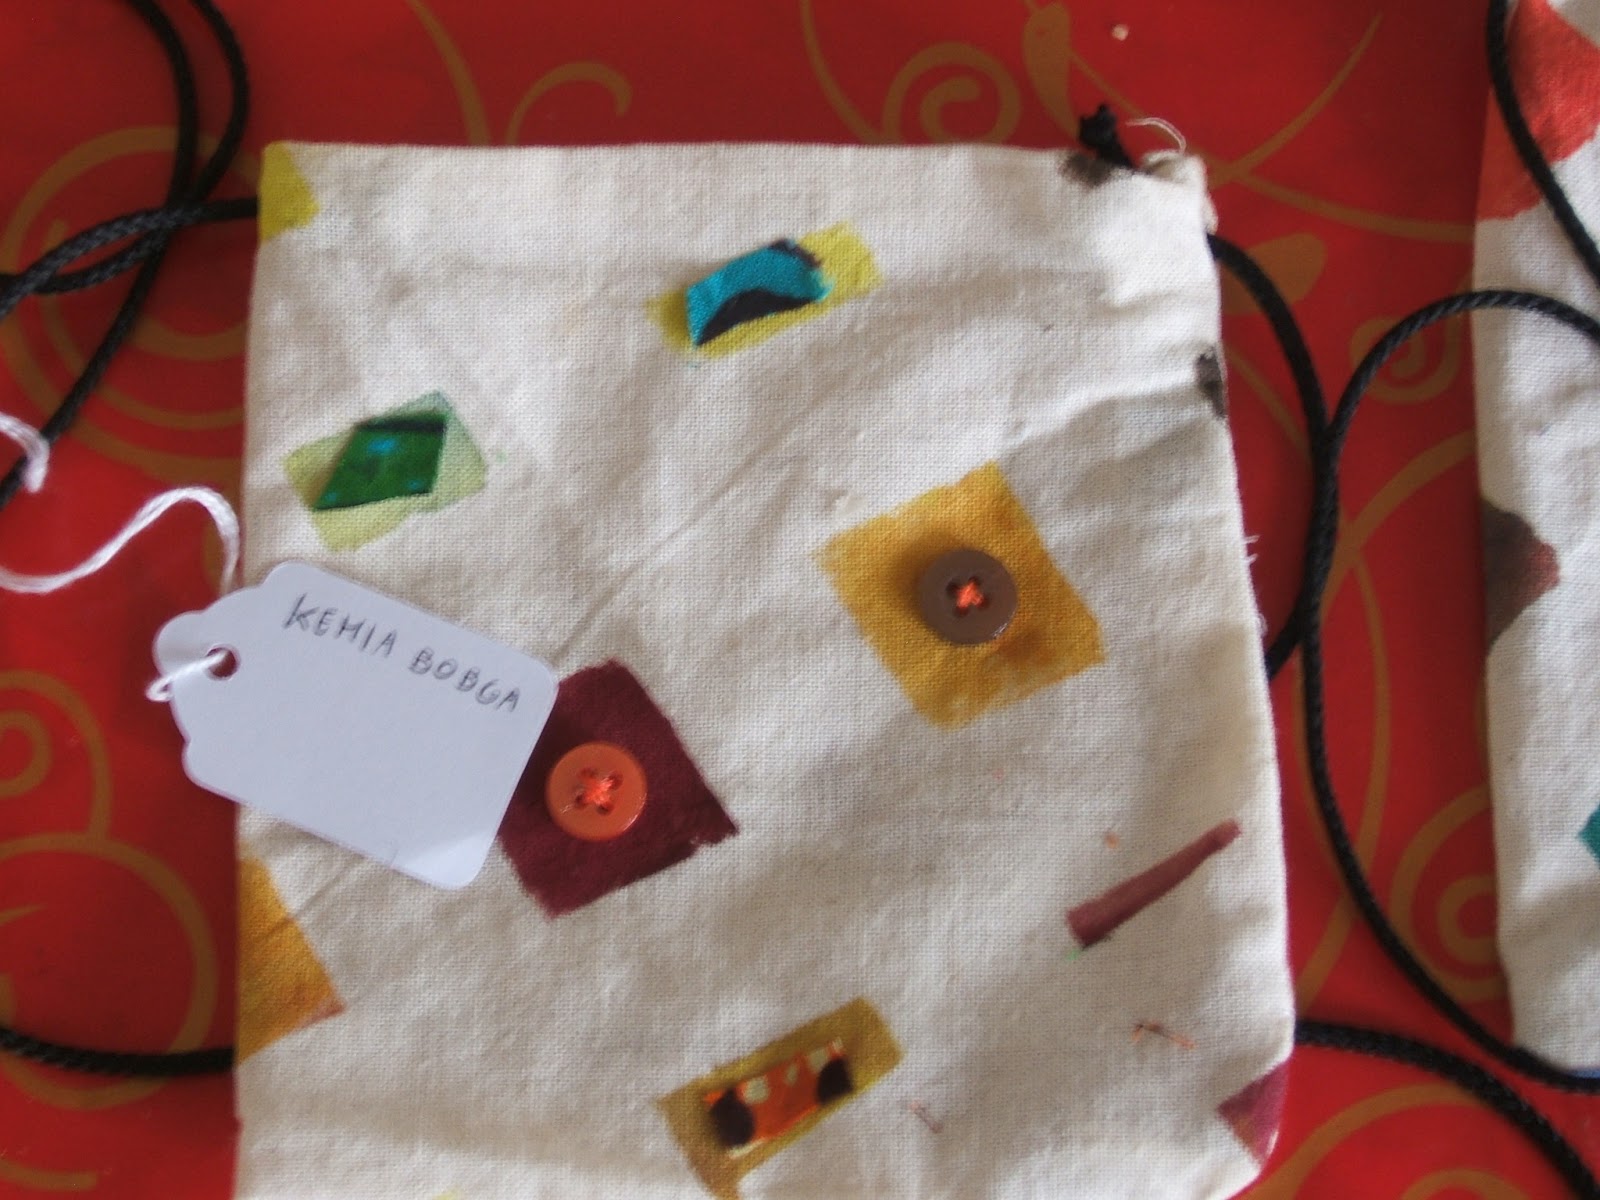
A series of coasters embroidered in long stitch on canvas with Adinkra symbols, bound with African fabrics.

As a great fan and lover of embroidery, something involving embroidery was for me naturally on the agenda from the start. Running a workshop on a drop-in basis carries the risk of not knowing in advance the average ability/knowledge of your  audience, in which case it is safer to assume none.
Activities based on sewing, had previously had a mixed reception: some children loved the challenge, some didn't. The apparent or real complexity of some of the embroidery stitches and styles can be off-putting, especially for children, who are generally looking for quick results that offer satisfaction and a sense of achievement and self-affirmation.
Long stitch kits are usually popular with children as they offer the possibility to quickly fill a simple design with an uncomplicated stitch in order to decorate small items that have a practical use as well. Things like a picture frame, a book cover and so on.

Bookmark Long stitch kit embroidered in wool on canvas
The idea then came to my mind to research some Adinkra symbols that could be adapted, translated and embroidered in long stitches. Adinkra are a series of visual symbols that originated in Ghana (or the neighbouring Ivory Coast) among the Asanti people and are used on hand crafted items, especially on cloth, to convey certain concepts.
A quick useful resource can be found on  this link
http://www.adinkra.org/htmls/list.htm but, a good and more substantial starting point can also be found here
Welcome to Adire African Textiles gallery
I decided to choose some symbols that I thought would be both appealing to children for their meaning and simple to reproduce:
Here are some of the initial sketches and drawings...


The next step consisted in translating the symbols into long stitch patterns that could be embroidered

Translating symbols into long stitch patterns

Three symbols seemed to be fit for purpose for more than one reason (simplicity of execution, concept appeal etc) : one of them was 'royalty', the other was 'peace' and the other was ' good fortune'. I auditioned beforehand the feasibility of the symbols with my audience and was greatly guided by their choices.


The other steps consisted in preparing the canvas, by drawing the design on it and colouring it in to facilitate the execution, a bit like some 'tapestry' (needlepoint) kits that come ready painted with the colours of the threads.                                                                                                                                


One of the coasters embroidered in long stitch on canvas with the "royalty" symbol


The home-made "kits" proved very popular with the children, and some of them not only mastered the long stitch, but also worked out their own version. The resources used were minimal: recycled wool yarn (from my stash!), permanent markers, needles, of course, and scraps of African fabrics. The only relatively expensive item being the 10 holes x inch canvas, which though, yielded quite a few "squares." While we decided to bind the embroidered squares and make them into coasters, they might have been just as easily turned into something else (a book cover, a mini wall hanging etc.).

Tuesday, 11 June 2013

Let's do it for the kids : 1) Stick & stitch: the gadget holder project


Last year I got involved in a project organised by the African Cultural Association, Barnet: The Youth Multicultural Textiles Arts & Crafts Workshops. It consisted of a series of drop-in workshops aimed at children from 7 to 18 (quite a range!) and mainly based in the borough's libraries.

The task proved both exhausting and rewarding but definitely an experience worth remembering and sharing:
It can give some ideas on 'crafty' things to do/make with children and how to plan any of such activities with them.
The first project I want to talk about is the gadget holder (ideal as a mobile case or i-pod or even a pair of spectacles), which is basically a rectangular shaped container that can be hung around the neck.

The general brief for the project was to include some kind of textile craft form either traditional or contemporary, drawing on a multicultural context but possibly including some African connection or theme. Obviously there had to be a practical outcome, in terms of artefacts but possibly also in terms of learning (a new skill, technique, etc.)
The idea for this particular workshop came about because I could include fabric (for the textile bit) paint (as some of the children had previously requested something involving a painting activity of some sort) and could accommodate both the needs of children who could sew (and were itching to do so) and children who couldn't or wouldn't, mainly the younger ones, but not necessarily.

It had to be a fairly simple activity as the workshops were becoming increasingly popular and lots of children of different ages would turn up making close supervision a bit more difficult.
Just as some of the children were intimidated by the use of the needle, some of the others were  nervous at the idea of using paints and brushes. To make the project easy to execute I came up with the idea of using masking tape to make a neatly painted background without too much effort and scope for things to go wrong (the idea developed from one the techniques used with Markal Paint sticks, even though in that case you paint over the masking tape and spread it with a toothbrush).

 We used primary acrylic colours which even if mixed to become a bit murky would go well with the bits and pieces of the African fabrics that would be added later for further decoration. Each child decided on the design and on the measures and shape of the case.
 The choice for the main fabric had to be calico: it's strong, doesn't fray  much, it's easy to sew through and reacts well to both paint and glue. So once the off-white calico had been decorated with paint, the rectangles could be folded and there was a choice whether to glue the hems or sew them.


Sewing or gluing the seams was also pretty straightforward, with those wanting to sew getting excited and those not wanting to, enjoying the quick and equally
Laying the masking tape
sturdy results given by the gluing method.


 Pieces of African fabric and/or coloured buttons were added, either by gluing or sewing using simple stranded embroidery cotton and the purses were finished off with the addition of a cord (the sides were pierced with an owl and the cord was knotted in place) to allow them to hung from the neck.


 Whoever had time and wanted to could add further decoration with thread and beads